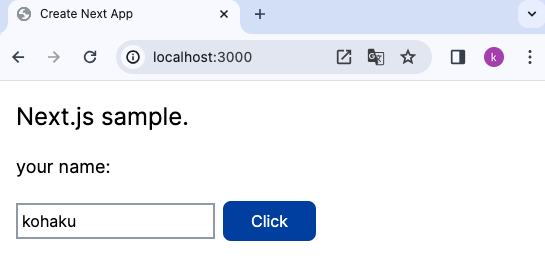
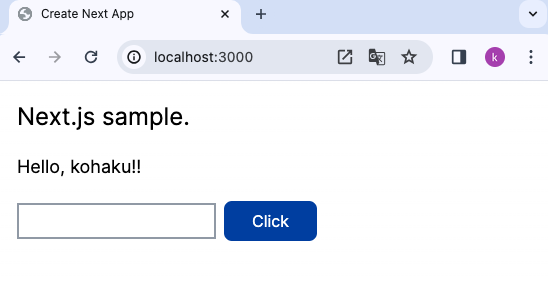
Next.jsでフォームを作ってみる
'use client' // Reactのステートを使うときに必要なもの

import Image from "next/image";
import {useState} from 'react'

export default function Home() {
  const [input, setInput] = useState("")
  const [message, setMessage] = useState("your name:")

  const doChange = (event) => {
    setInput(event.target.value)
  }

  const doClick = () => {
    setMessage("Hello, " + input + "!!")
    setInput("")
  }

  return (
    <main>
      <h1 className="text-2xl m-5">Next.js sample.</h1>
      <p className="text-lg m-5">{message}</p>
      <div className="m-5">
        <input type="text" onChange={doChange} value={input}
          className="p-1 border-solid border-2 border-gray-400" />
        <button onClick={doClick}
          className="px-7 py-2 mx-2 bg-blue-800 text-white rounded-lg">
            Click
        </button>
      </div>
    </main>
  )
}


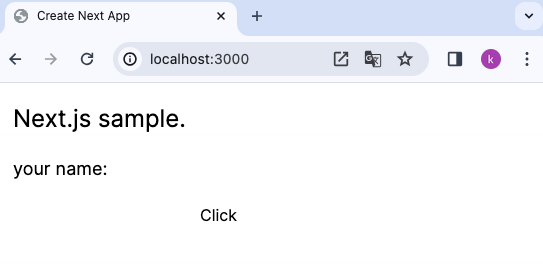
<input>や<button>はclassNameを指定しないと、枠線がなかったりボタンっぽくなかったりで、うまく表示されない。

クラスを定義する
何かを表示するたびにclassNameで指定するクラスが多くてめんどくさい。。。
そこで、よく利用する内容をクラスとして定義しておくことができます!
アプリケーション全体に適用されるglobal.cssにクラスを追記します。
.title {
  @apply text-2xl m-5 text-red-500;
}
.msg {
  @apply text-lg m-5 text-gray-900;
}
.input {
  @apply p-1 border-solid border-2 border-gray-400 rounded-sm;
}
.btn {
  @apply px-7 py-2 mx-2 bg-blue-800 text-white rounded-lg;
}
return (
<main>
<h1 className="title">Next.js sample.</h1>
<p className="msg">{message}</p>
<div className="m-5">
<input type="text" onChange={doChange} value={input} className="input" />
<button onClick={doClick} className="btn">Click</button>
</div>
</main>
)表示される内容は同じですが、本文がすっきりした感じがありますね!


